Step-by-step guide to creating a personal website. Learn how to choose the right platform, design your site, and publish it online for showcasing your portfolio, blog, or hobbies.
Learn how to create a simple yet functional website for personal use. This step-by-step guide covers everything from choosing the right platform to designing and publishing your website.
Why Create a Personal Website?
A personal website serves many purposes, and the reasons for creating one are as diverse as the people who build them. Some of the most common reasons include:
Showcasing your portfolio: If you’re a photographer, designer, writer, or another creative professional, a personal website can serve as a digital portfolio.
Personal blog: Sharing your thoughts, ideas, and experiences with the world can be empowering, and a blog provides the perfect platform for this.
Building an online presence: Having a personal website can help others find you, whether it’s potential employers, collaborators, or just people with similar interests.
Hobby or interest space: Whether it's a personal journal, a page dedicated to your favorite hobby, or a site for your small business, a website offers unlimited customization.
Step 1: Choose a Platform
Before diving into the design and content creation process, it’s important to choose the platform where your website will live. Several options are available, each with its pros and cons. Here are the most popular choices:
Website Builders (Wix, Squarespace, Weebly)
Website builders are the easiest and most user-friendly platforms for beginners. They offer drag-and-drop functionality and pre-designed templates, which makes creating a website a breeze. Here’s why you might choose a website builder:
No coding required: You don’t need to know HTML, CSS, or JavaScript.
Fast setup: Templates make the process quick and easy.
Customization: While limited compared to custom-built websites, there’s still plenty of room for personalization.
Support: Website builders typically offer customer support if you run into issues.
WordPress
WordPress is the most widely used content management system (CMS). It’s free to use, highly customizable, and ideal if you want a more robust website. WordPress offers two options:
WordPress.com: Hosted service with fewer customization options.
WordPress.org: Self-hosted, requiring you to get your own domain and hosting but giving you full control over your site.
WordPress is more flexible than website builders, but it comes with a steeper learning curve. If you’re comfortable experimenting with design and content management, WordPress might be a great choice.
Static HTML/CSS Website
If you’re familiar with coding, you can build a website from scratch using HTML, CSS, and potentially JavaScript. This option gives you full control over the design, functionality, and user experience, but it requires more time and effort.
Step 2: Choose a Domain Name
A domain name is your website’s address on the internet (e.g., www.yourname.com). It’s an important part of your branding, so choose wisely. Here are a few tips for selecting a domain name:
Keep it short and memorable: A shorter domain name is easier to remember and type.
Use your name or brand: If it’s for a personal website, consider using your own name or a variation of it.
Avoid special characters: Stick to letters and numbers. Avoid hyphens or other confusing characters.
Consider SEO: If you’re creating a blog or portfolio, try to include keywords that represent your content.
Once you've chosen your domain name, you’ll need to register it through a domain registrar like GoDaddy, Namecheap, or Google Domains. Typically, a domain name costs between ₹800 to ₹1,600 per year.
Step 3: Select a Web Hosting Service
Web hosting is the service that allows your website to be accessible on the internet. The hosting provider stores your website’s files and makes them available to visitors. If you choose a website builder like Wix or Squarespace, hosting is included, but if you go with WordPress.org or a static site, you’ll need to select a hosting provider.
Some popular web hosting services include:
Bluehost: Known for good customer service and an easy WordPress installation process.
HostGator: Offers affordable plans and a variety of hosting options.
SiteGround: Known for excellent customer support and high-performance hosting.
Most web hosting services offer several pricing tiers depending on your needs, ranging from shared hosting (less expensive but less powerful) to dedicated hosting (more expensive but more customizable).
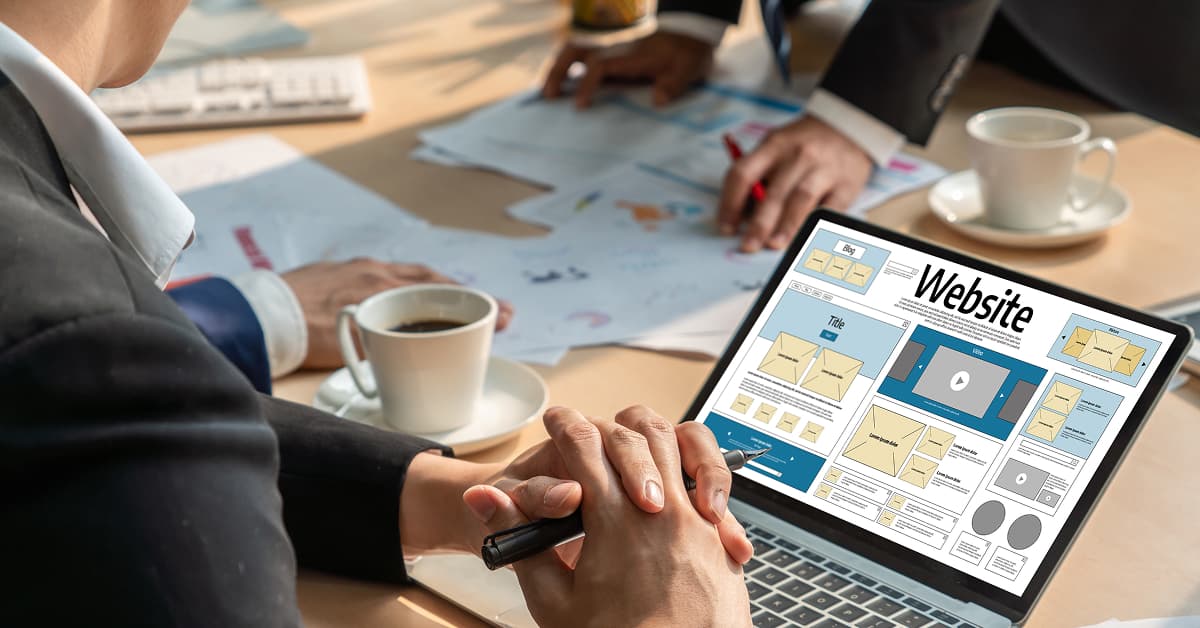
Step 4: Design Your Website
The design is one of the most crucial aspects of your personal website. A good design not only looks aesthetically pleasing but also provides a great user experience. Here’s how you can design your website:
Choose a Template or Theme
Most website builders and WordPress offer a wide selection of templates or themes to get you started. Select one that fits your style and goals. If you're using a website builder, you’ll find templates for various purposes like blogs, portfolios, and personal pages. WordPress themes are similarly versatile.
Customize Your Design
Once you've selected your theme, you can start customizing it to reflect your personal style. Consider the following elements:
Colors: Choose a color scheme that complements your personality or brand. Stick to a small palette to keep things clean and cohesive.
Typography: Select readable fonts and make sure there’s enough contrast between the text and background.
Layout: Make sure the layout is easy to navigate. Use headings, subheadings, and clear sections.
Images: Use high-quality images to enhance your content. Be mindful of loading times; compressed images work best.
Add Essential Pages
Your website should have a few key pages that will help visitors understand who you are and what your website offers. Consider adding:
Home Page: The landing page that introduces visitors to who you are.
About Me: Share more details about yourself, your background, and your interests.
Portfolio: If you’re a creative, showcase your best work here.
Blog: If you plan to write regularly, add a blog section.
Contact Page: Make it easy for visitors to get in touch with you, whether via email or a contact form.
Step 5: Publish Your Website
Once your website is designed, it's time to hit the "publish" button and make it live. If you’re using a website builder, this is as simple as selecting the "Publish" option. With WordPress, you may need to configure additional settings, such as setting up SEO plugins (like Yoast SEO) to improve search engine visibility.
Make sure to test your website across different devices (desktop, tablet, and mobile) to ensure that it looks good everywhere.
Step 6: Maintain and Update Your Website
A personal website is not a one-and-done project. To keep it fresh and engaging, regularly update your content, whether that’s adding new blog posts, portfolio pieces, or personal updates. Keeping your website updated also improves its SEO ranking.
Conclusion
Creating a website for personal use can be an incredibly rewarding project. By following these simple steps—choosing the right platform, selecting a domain name, designing your website, and publishing it—you’ll be well on your way to establishing a strong online presence. Whether you’re showcasing your creative work, blogging about your passions, or just creating a space for your ideas, a personal website is a great way to connect with others in the digital world.